Consulate Processing Steps: Your Roadmap to International Travel
September 7, 2026
International travel requires navigating consulate processing steps that can feel overwhelming without proper guidance. At Law Offices of Jeffrey A. Thompson, we’ve helped countless clients move through this process successfully.
This roadmap breaks down each stage so you know exactly what to expect and how to avoid costly delays.
Understanding Consulate Services and Requirements
What Services Do Consulates Provide
Consulates handle far more than just visa stamping. They manage passport services, notarizations, document authentication, and various travel permits depending on your destination country. The specific services available depend entirely on which country’s consulate you’re working with, so assuming one consulate operates like another will cost you time and money.
Many people waste weeks pursuing services at the wrong location because they didn’t verify what each consulate actually offers. Call your target consulate directly before you gather any documents or schedule appointments. Ask specifically whether they handle your particular service in-house or whether you need to use an approved intermediary service. Some consulates outsource passport renewals to private vendors, while others handle everything internally. This single step prevents the frustration of showing up with complete documentation only to learn the consulate doesn’t provide that service at their location.
Documentation Requirements Vary Significantly
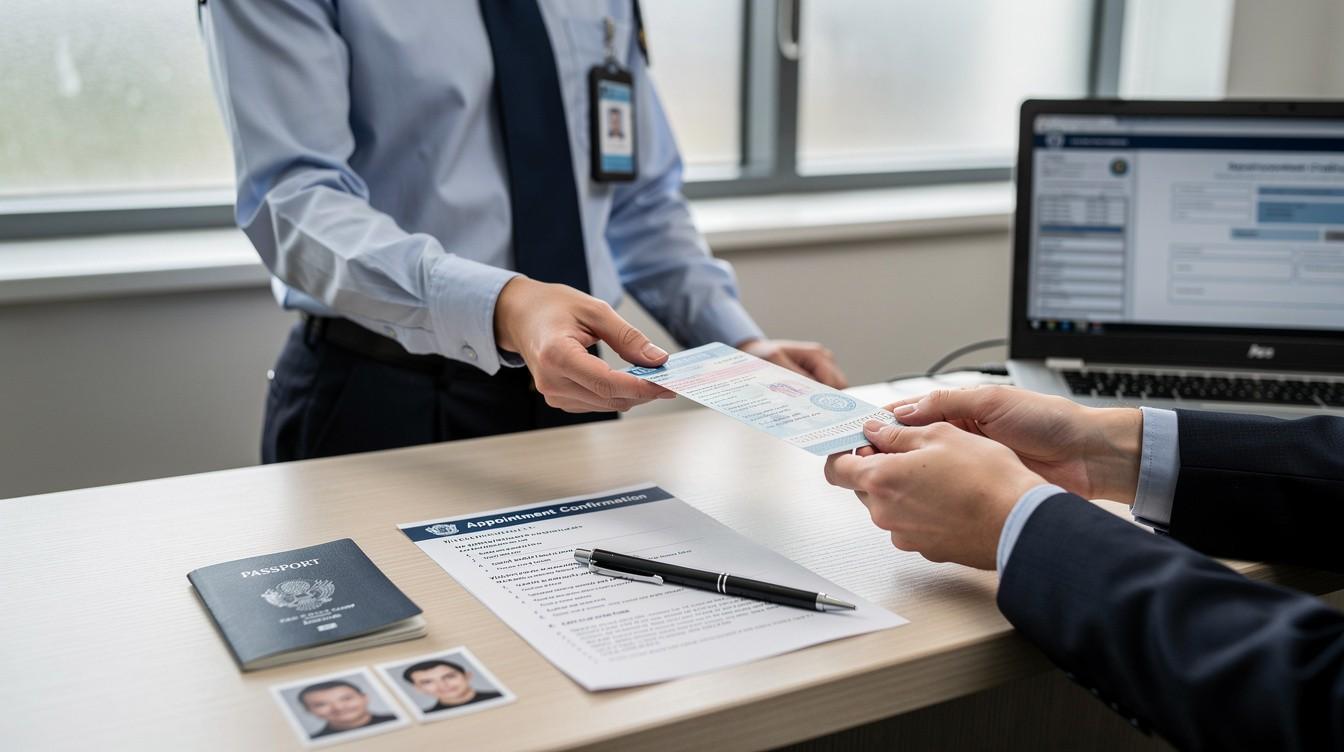
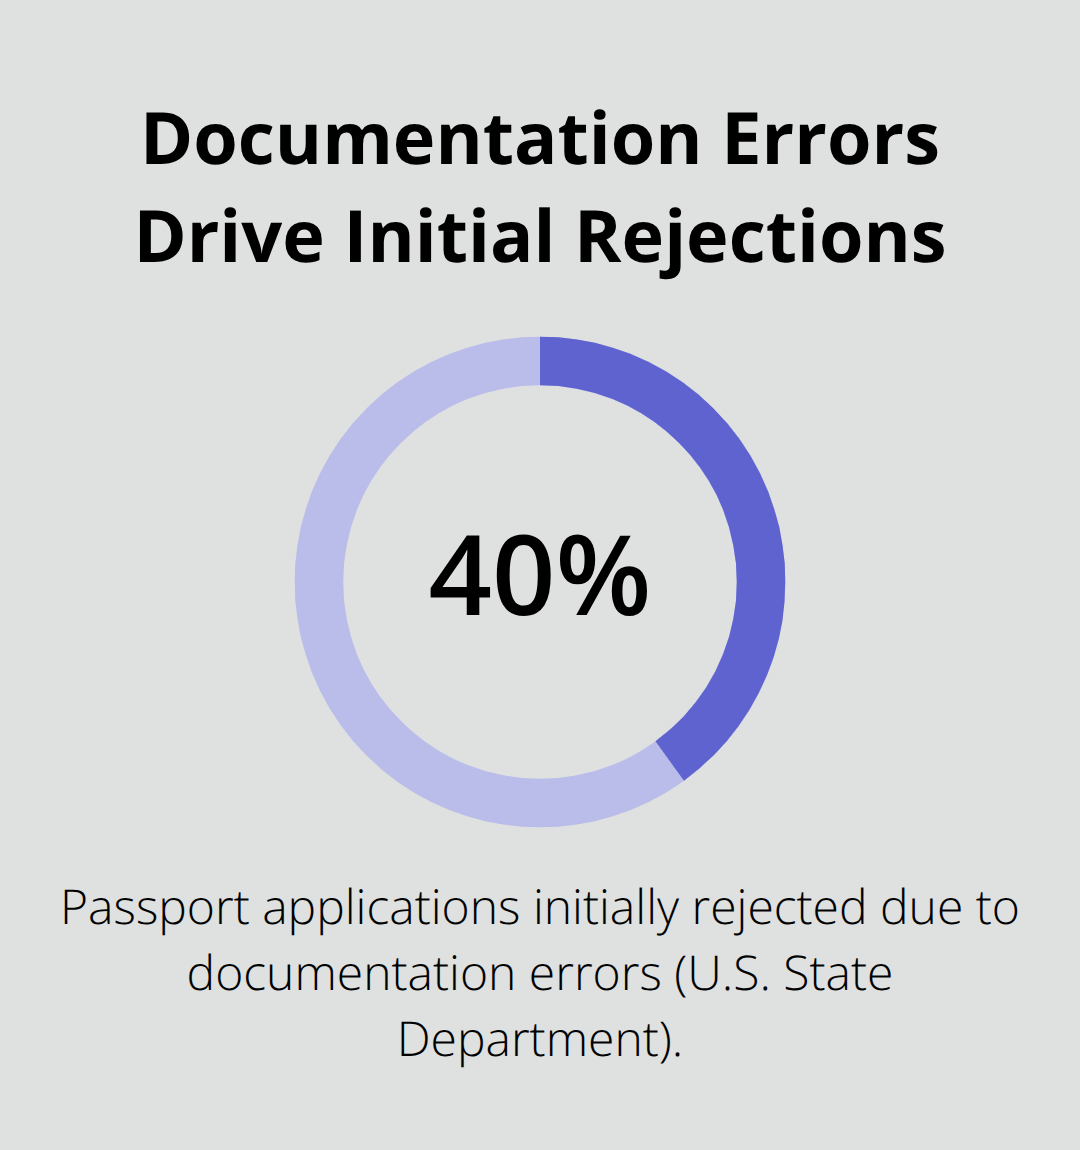
The documents you’ll need depend on your service type, citizenship, and destination. A passport renewal requires different paperwork than a visa application, which differs again from notarization services. U.S. State Department data shows that approximately 40 percent of passport applications face initial rejection due to documentation errors, and consulate applications follow similar patterns.
Never assume your neighbor’s visa application paperwork will work for yours. Consulates publish detailed checklists on their websites, and these lists change without warning as governments update requirements. Print the current checklist directly from the official consulate website, not from third-party sites or outdated PDFs you find elsewhere. Verify birth certificates are original or certified copies, not photocopies. Check that your passport has sufficient blank pages (typically at least two facing pages for most visas). Confirm your photographs meet exact specifications regarding size, background color, and head positioning, as consulates reject thousands of applications monthly for photo non-compliance alone.
Processing Times Range Wildly
Processing times for passport applications vary significantly by service type. Routine processing takes 4-6 weeks, while expedited processing takes 2-3 weeks. Some countries process applications in days, while others take 6 months or longer.
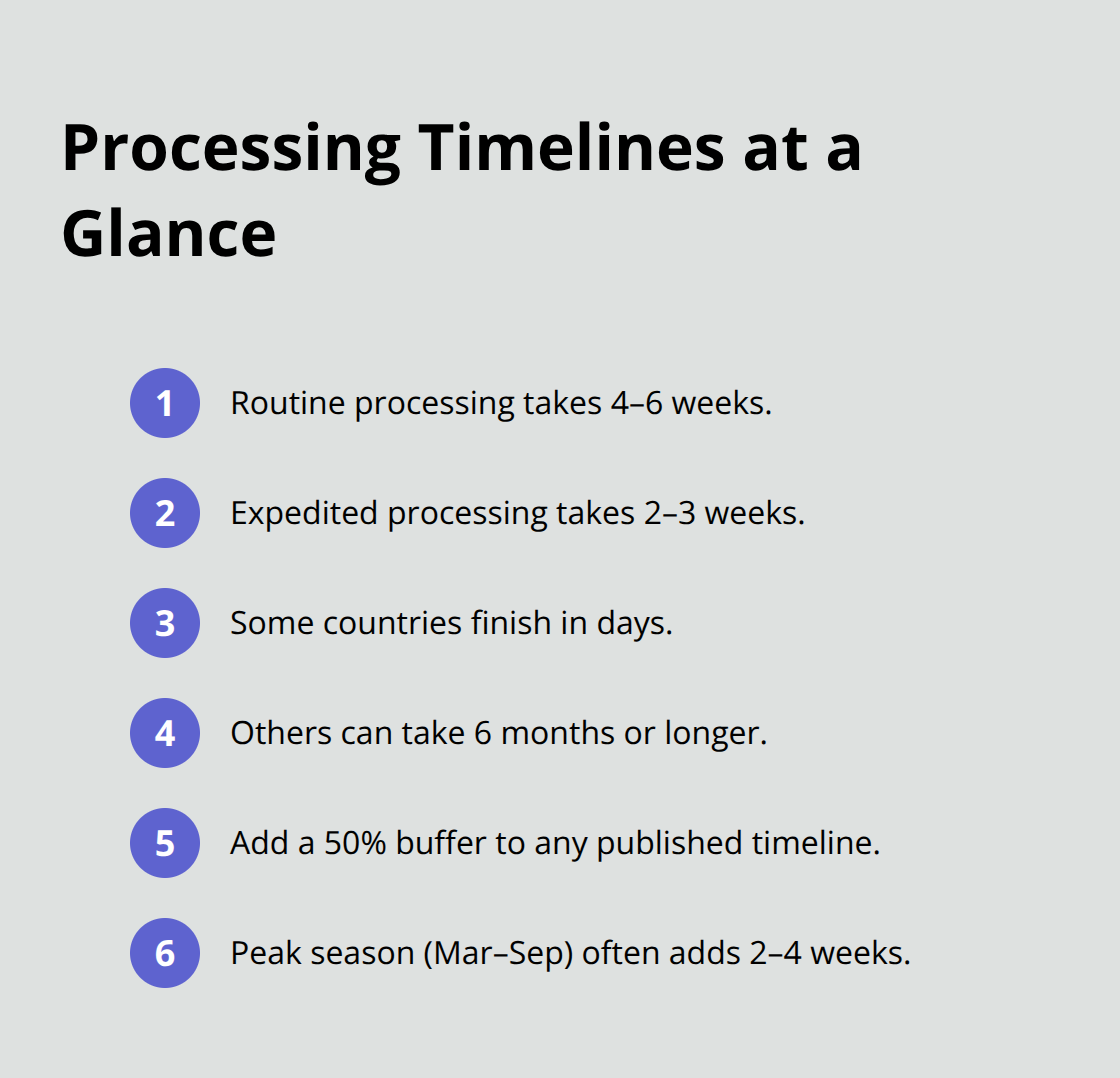
Never schedule international travel based on estimated processing times alone. Build in a 50 percent buffer beyond the published timeline. If a consulate states 8 weeks, plan for 12 weeks. Visa applications for certain countries consistently exceed stated timelines due to security screening and background checks. The time required also depends on your application complexity, whether your background triggers additional review, and current consulate staffing levels. Peak travel seasons from March through September typically extend processing times by 2 to 4 weeks compared to off-season applications.
With these foundational requirements in mind, the next step involves organizing your specific documentation and preparing your actual application submission.
How to Execute Your Consulate Application Without Delays
Organize Your Documentation First
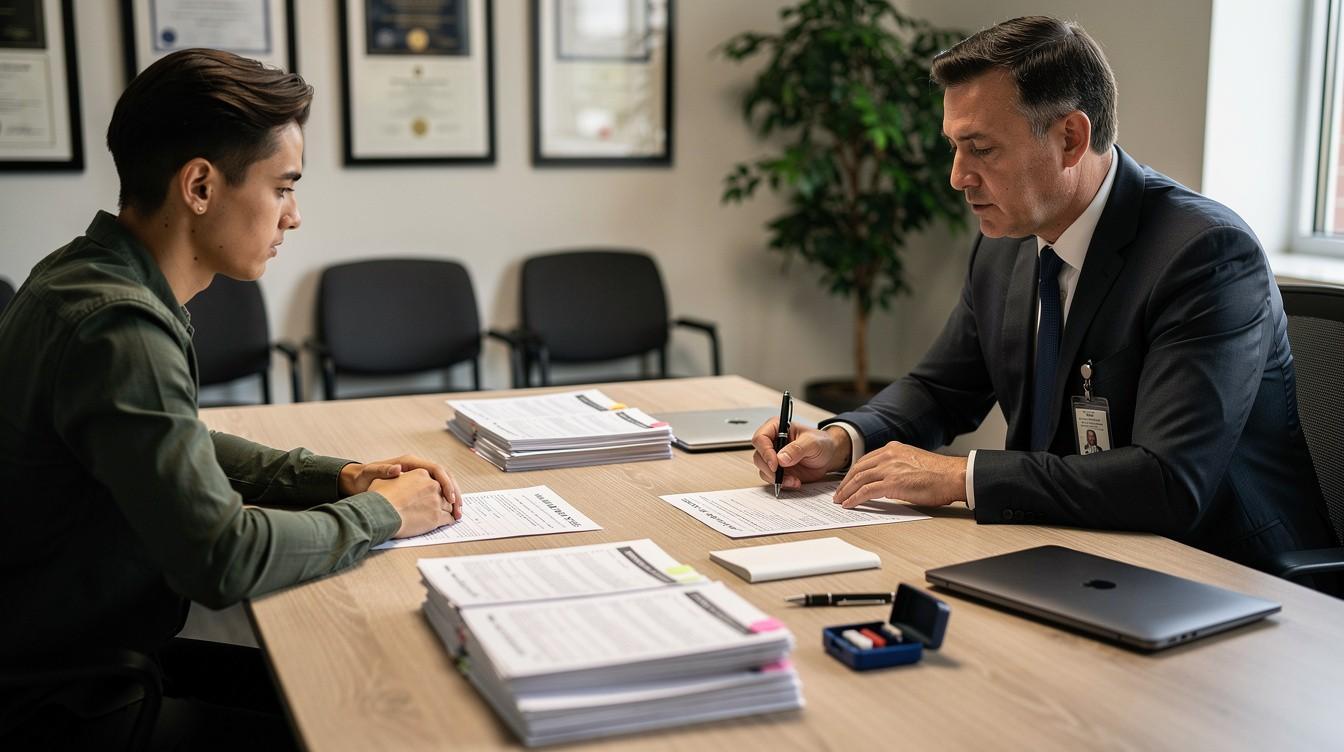
Organizing your documentation before submission separates applicants who move through the process smoothly from those who face rejection and resubmission cycles. Start by creating a physical folder or digital file with every single document the consulate checklist mentions, plus one additional certified copy of each item. Applicants who prepare duplicate copies can improve their submission quality because consulates sometimes retain original documents or require backups for their records.
After you gather everything, arrange documents in the exact order specified by the consulate’s checklist, not alphabetically or by your preference. Many consulates process applications through automated scanning systems that expect documents in a specific sequence, and deviation causes processing delays or rejection. Photograph each page of every document with your phone and store these images in cloud storage like Google Drive or Dropbox before you seal anything. This protects you if documents get lost in transit and provides proof of what you submitted if disputes arise later.
Handle Fees and Payment Correctly
Pay attention to the fee structure, as most consulates charge different amounts for different service levels, and submitting incorrect payment causes automatic rejection. Check whether your consulate accepts credit cards, money orders, or cashier’s checks specifically, since some locations refuse certain payment methods entirely. Never include personal checks, as these get rejected universally across U.S. consulates.
Submit Your Application Through the Right Channel
Submission methods vary dramatically by location, so assuming you can mail your application to every consulate will waste weeks. Some consulates require in-person submission with an appointment, some accept mail submissions only, and others use third-party service providers like VFS Global or TravelDocs. Visit the specific consulate’s website and look for the exact submission instructions under their application procedures section.
If appointments are required, book these months in advance during peak seasons, as many consulates offer only a handful of appointment slots weekly. Request a receipt number or tracking code at submission, then check the consulate’s online portal regularly using this number.
Track Your Application Status Actively
Most consulates update application status every 5 to 7 business days, though some provide no updates beyond initial receipt confirmation. If your application hasn’t moved to the next status stage within the published timeline plus your 50 percent buffer, contact the consulate directly with your tracking number. Applicants who follow up proactively when timelines slip often experience faster resolution than those who wait passively for completion.
Once you’ve submitted your application and established your tracking routine, you’ll want to know which mistakes most commonly derail applications at this stage-and how to spot them before they cost you weeks of additional processing time.
Common Mistakes to Avoid During Consulate Processing
Documentation Errors Cause Most Rejections
The difference between approval and rejection often comes down to details most applicants overlook entirely. Documentation errors represent the most common reason consulates reject applications on first submission. Your consulate’s checklist specifies exact document requirements, yet applicants routinely submit photocopies instead of certified originals, use outdated forms from old websites, or include documents that expired months ago.
The solution requires obsessive attention to detail before submission. Print the official checklist directly from your specific consulate’s website on the day you plan to submit, not weeks earlier when requirements may have changed. Check the date on every single document to confirm nothing has expired. Certified copies must come from the issuing authority with an official seal, not from your personal files or a copy shop. Photograph each document after you gather it and compare the images to the checklist items one final time before sealing your envelope or clicking submit.
Timing Failures Trigger Automatic Rejection
Timing failures destroy applications as frequently as documentation problems do.
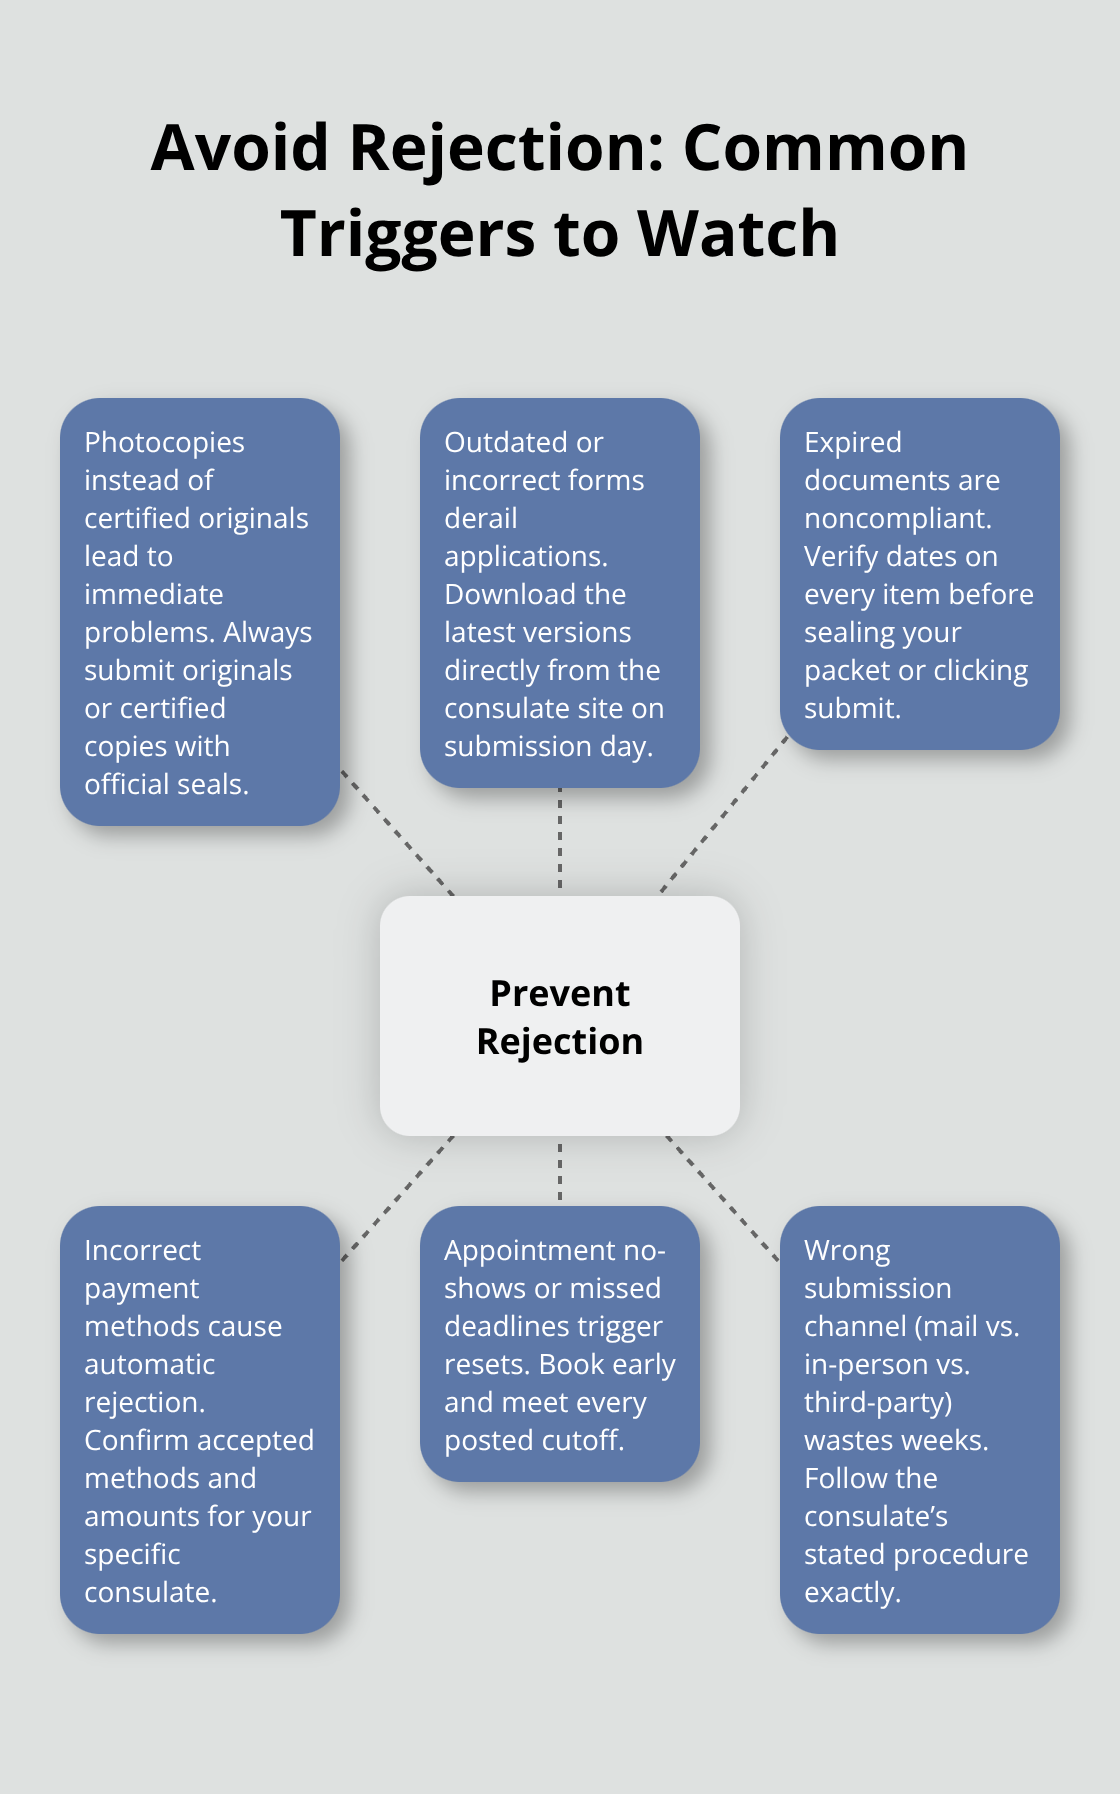
Consulate appointment slots during peak travel seasons from March through September book out months in advance, meaning applicants who wait until six weeks before their travel date find no appointments available. Schedule your appointment immediately after you confirm what documents you need, not after you gather everything. Missing your appointment slot or failing to submit documentation by posted deadlines triggers automatic rejection at many consulates, forcing you to start the entire process over.
Requirement Changes Catch Applicants Off Guard
Current requirements shift without warning as governments update policies, and consulates do not notify applicants of changes through email or mail. The burden falls on you to verify requirements weekly during your processing period, particularly if your application timeline extends beyond four weeks. Set a calendar reminder to check the consulate website every seven days and compare the current checklist against the documents you submitted. If requirements changed and you failed to include new mandatory documents, contact the consulate immediately with your tracking number and ask whether you can submit supplementary documentation before final review. Proactive communication about requirement changes often allows consulates to add documents to your file without requiring resubmission, whereas waiting until they contact you with rejection means starting completely fresh.
Final Thoughts
Consulate processing steps succeed when you treat every detail as non-negotiable and never assume anything about your specific consulate’s procedures. Your documentation must be perfect before submission-print checklists directly from official websites, verify every document hasn’t expired, and organize everything in the exact sequence your consulate requires. Build a 50 percent buffer into all published processing timelines and schedule appointments months in advance during peak travel seasons.
Check requirement updates weekly throughout your application period, because governments change policies without notifying applicants, and missing a new mandatory document means restarting from scratch. The mistakes outlined in this roadmap represent patterns we see repeatedly, and they’re entirely preventable through preparation and attention. Incomplete documentation, missed deadlines, and outdated requirement information destroy applications that could have succeeded with slightly more diligence.
If your consulate processing involves immigration matters or you face complications during your application, Law Offices of Jeffrey A. Thompson can guide you through the legal aspects of your journey. Our immigration law services help clients navigate paperwork requirements and overcome legal hurdles that might otherwise derail your plans. Contact Attorney Thompson to discuss your specific situation.
Share this post: